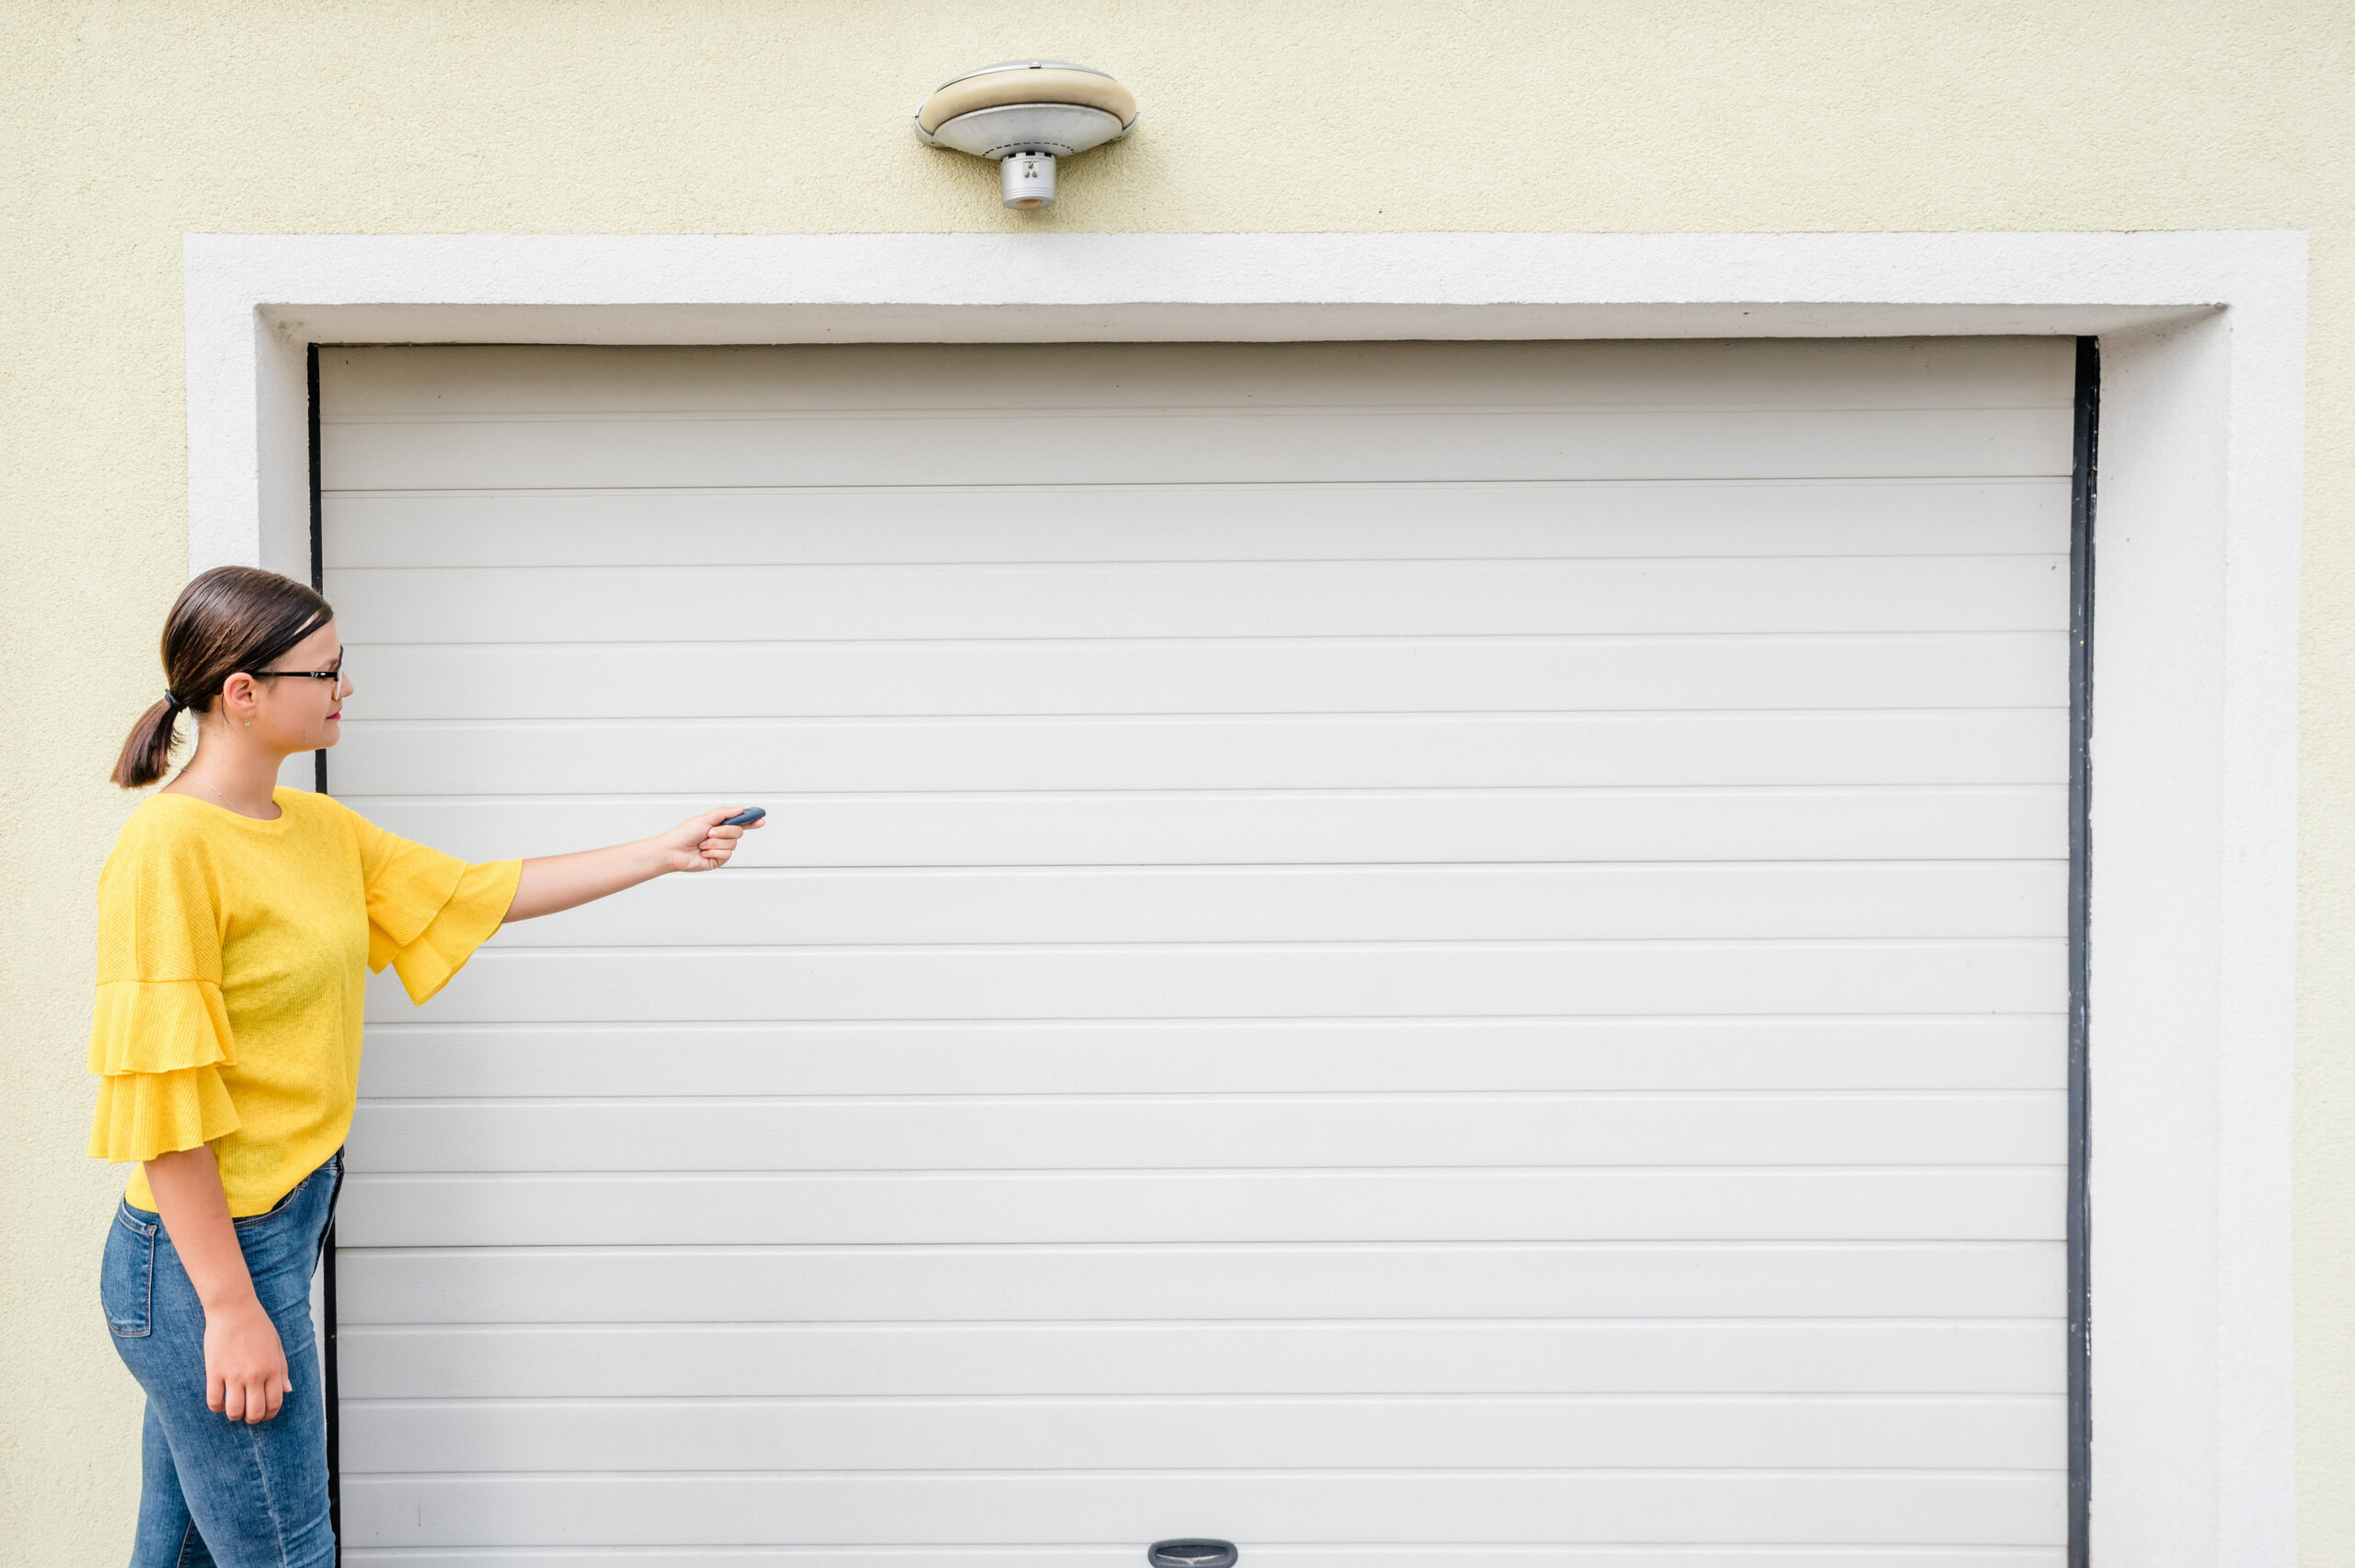
When you hit the button on the wall-mounted unit or remote control to close your…
How to Change Your Garage Door Code
When you’re looking to change a garage door code on your keypad, you’ll be happy to learn that it’s not a complicated undertaking in the slightest. While many common issues surrounding garage doors will require the services of an experienced garage door repair team, reprogramming your keypad is thankfully not one of them. In fact, the entire procedure requires nothing more than a ladder and a few minutes of your time. Even better, the process for changing your keypad code is essentially the same whether your garage door opener is a Liftmaster, Chamberlain, Genie, Craftsman, or any other common manufacturer.
Of course you always want to keep your garage door code confidential. But if you ever need to share your passcode with a delivery or maintenance person, or need to unshare it with an ex-roommate or partner, it’s a good idea to know how to change it. It’s also good practice when you move into a new home just to ensure that the previous owner’s credentials are obsolete.
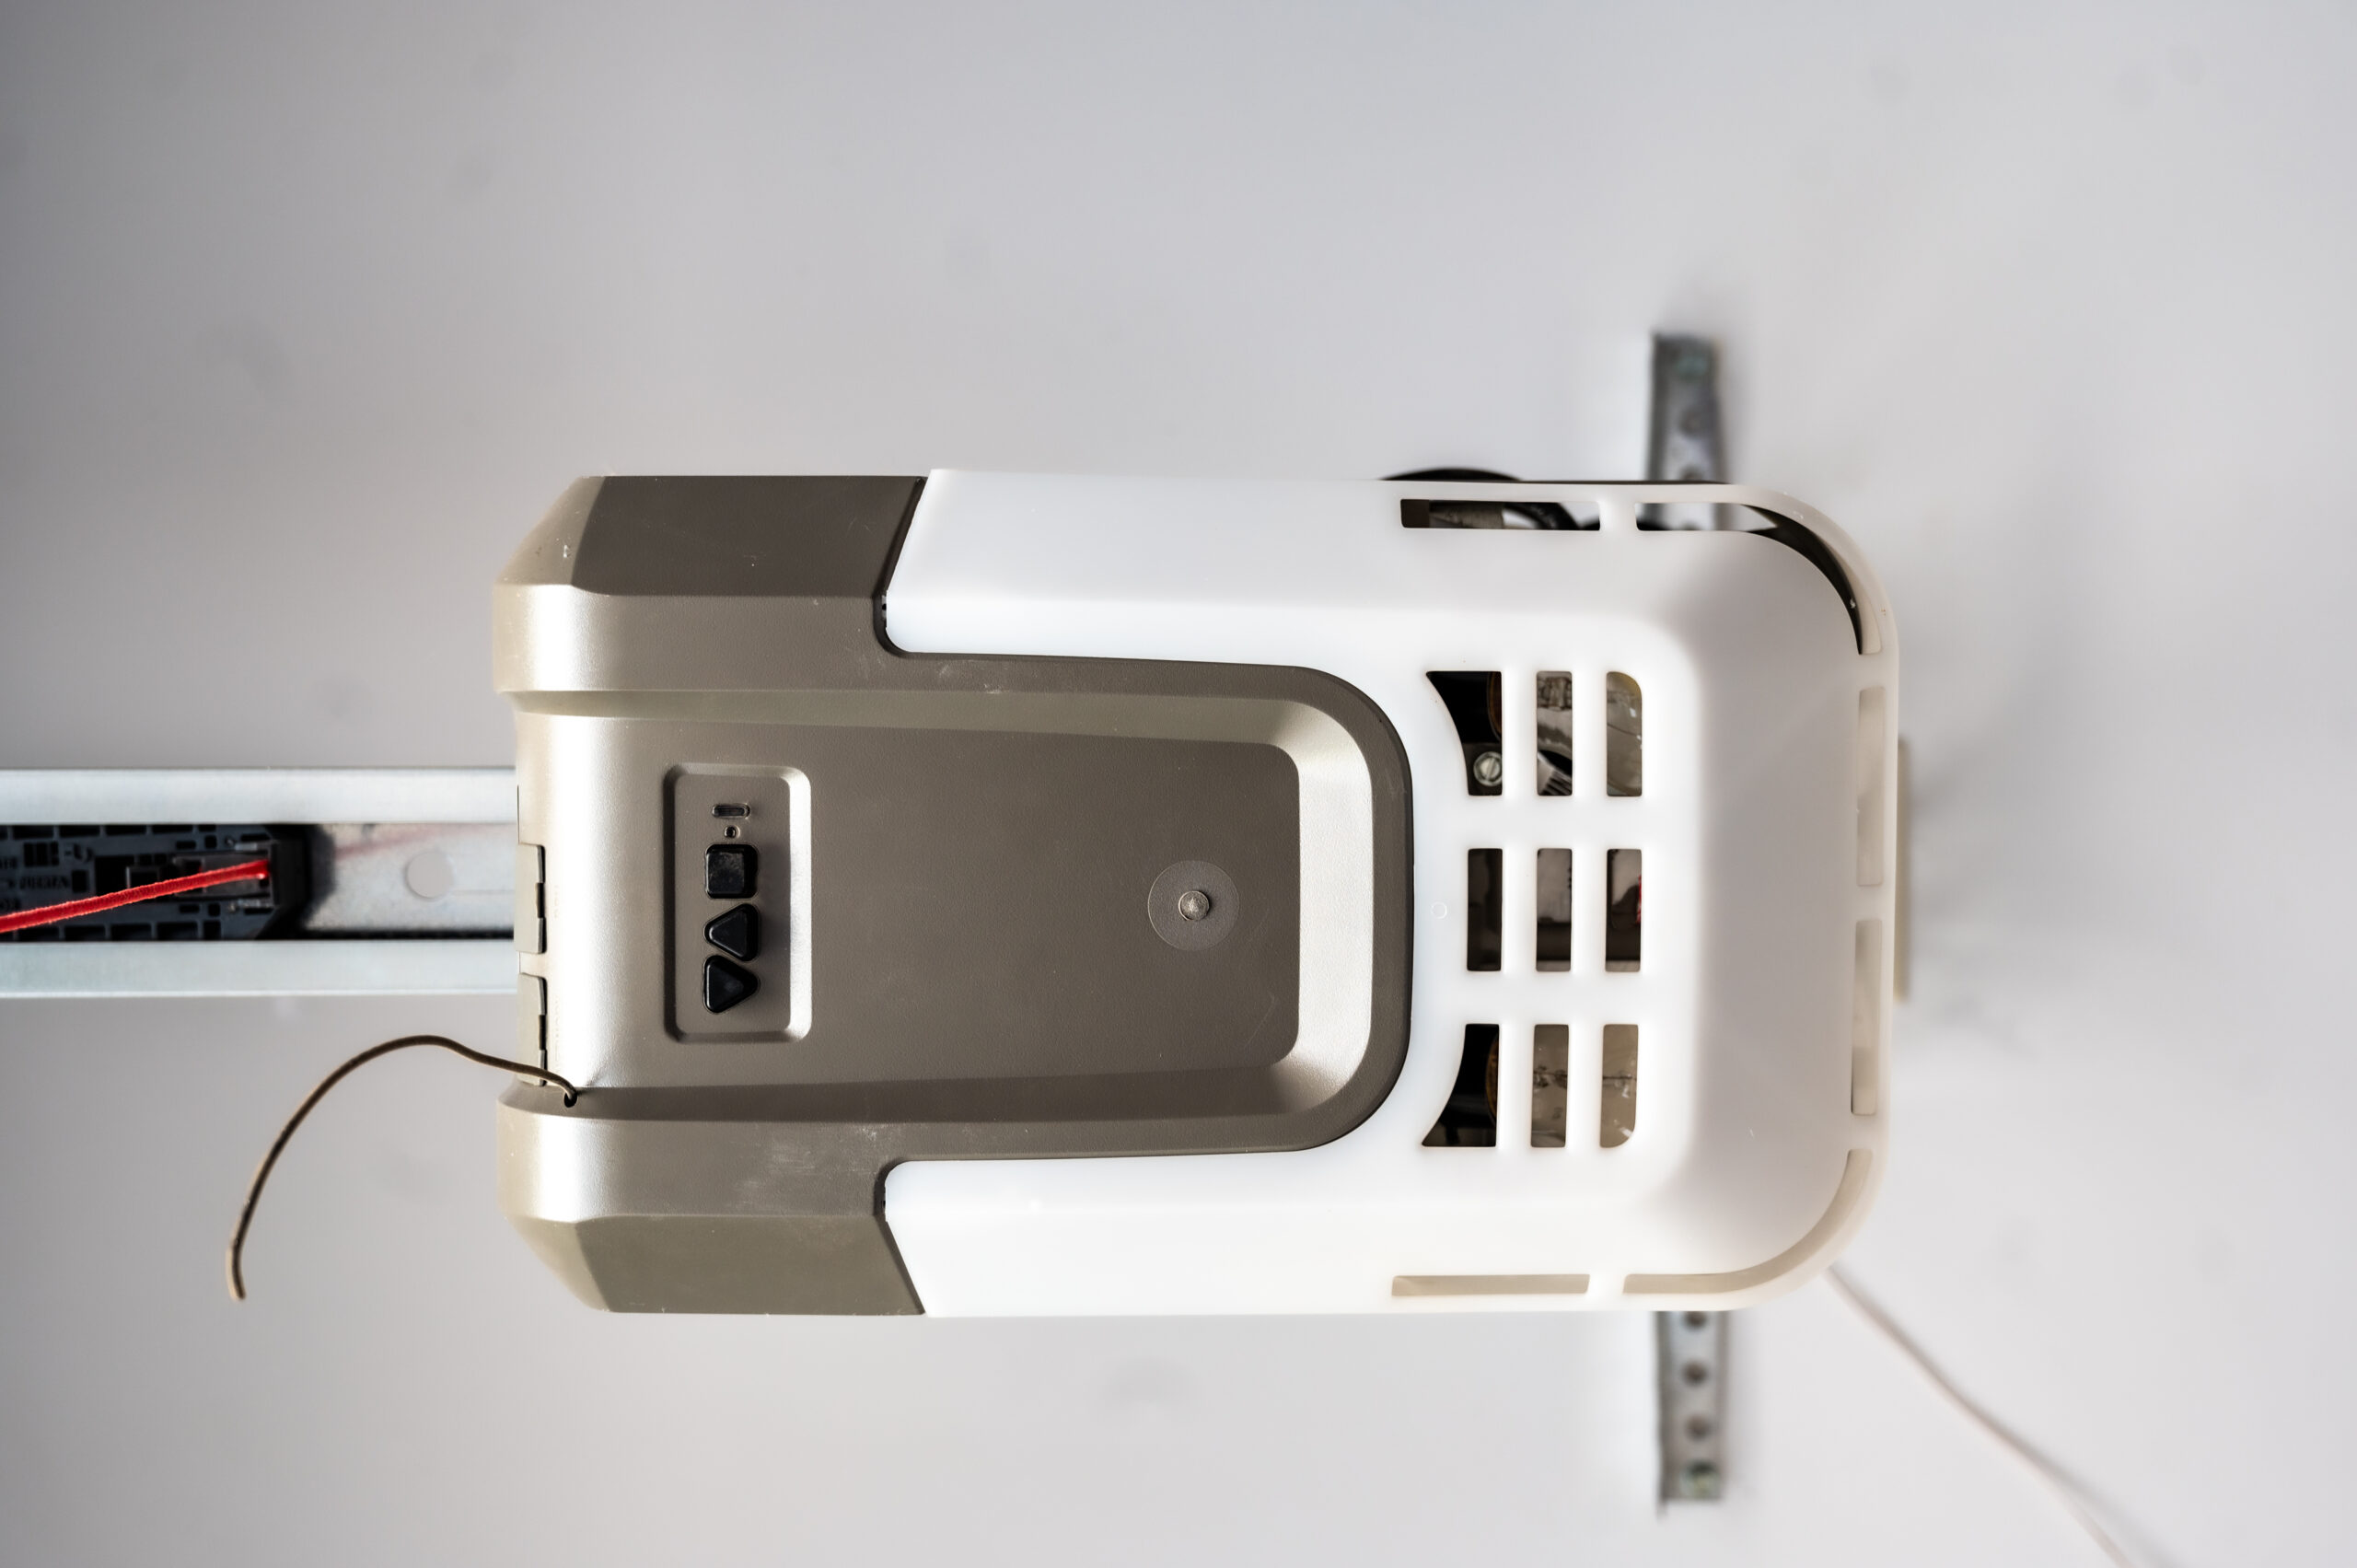
The first thing you’ll want to do is set up a ladder or stepladder so you can safely access your garage door’s motor unit. You’ll need to be within comfortable reach of the unit, so make sure your ladder is secure before beginning. We want you to be safe, after all!
Next, you’ll want to locate the unit’s “learn” button. The learn button is typically located on one side of the motor. This button serves two purposes: pairing various accessories (including your keypad or new remotes) and wiping the system’s memory entirely. The latter will essentially deactivate all remotes and pairings and restore your system to factory settings. This is always a good idea should one of your remotes become misplaced or stolen. This way, you’re ensuring that the finder of your lost remote does not have one-touch access to your garage and belongings.
Once you’ve found the learn button, press and hold it until the light (or lights) on the unit go off or, on some models, start blinking. Typically, you’ll hear a faint clicking noise at this point as well. Once the light is off or starts blinking, it is an indication that your garage door unit’s memory has been erased (which is exactly what we want to happen). Now, remove your finger from the learn button.
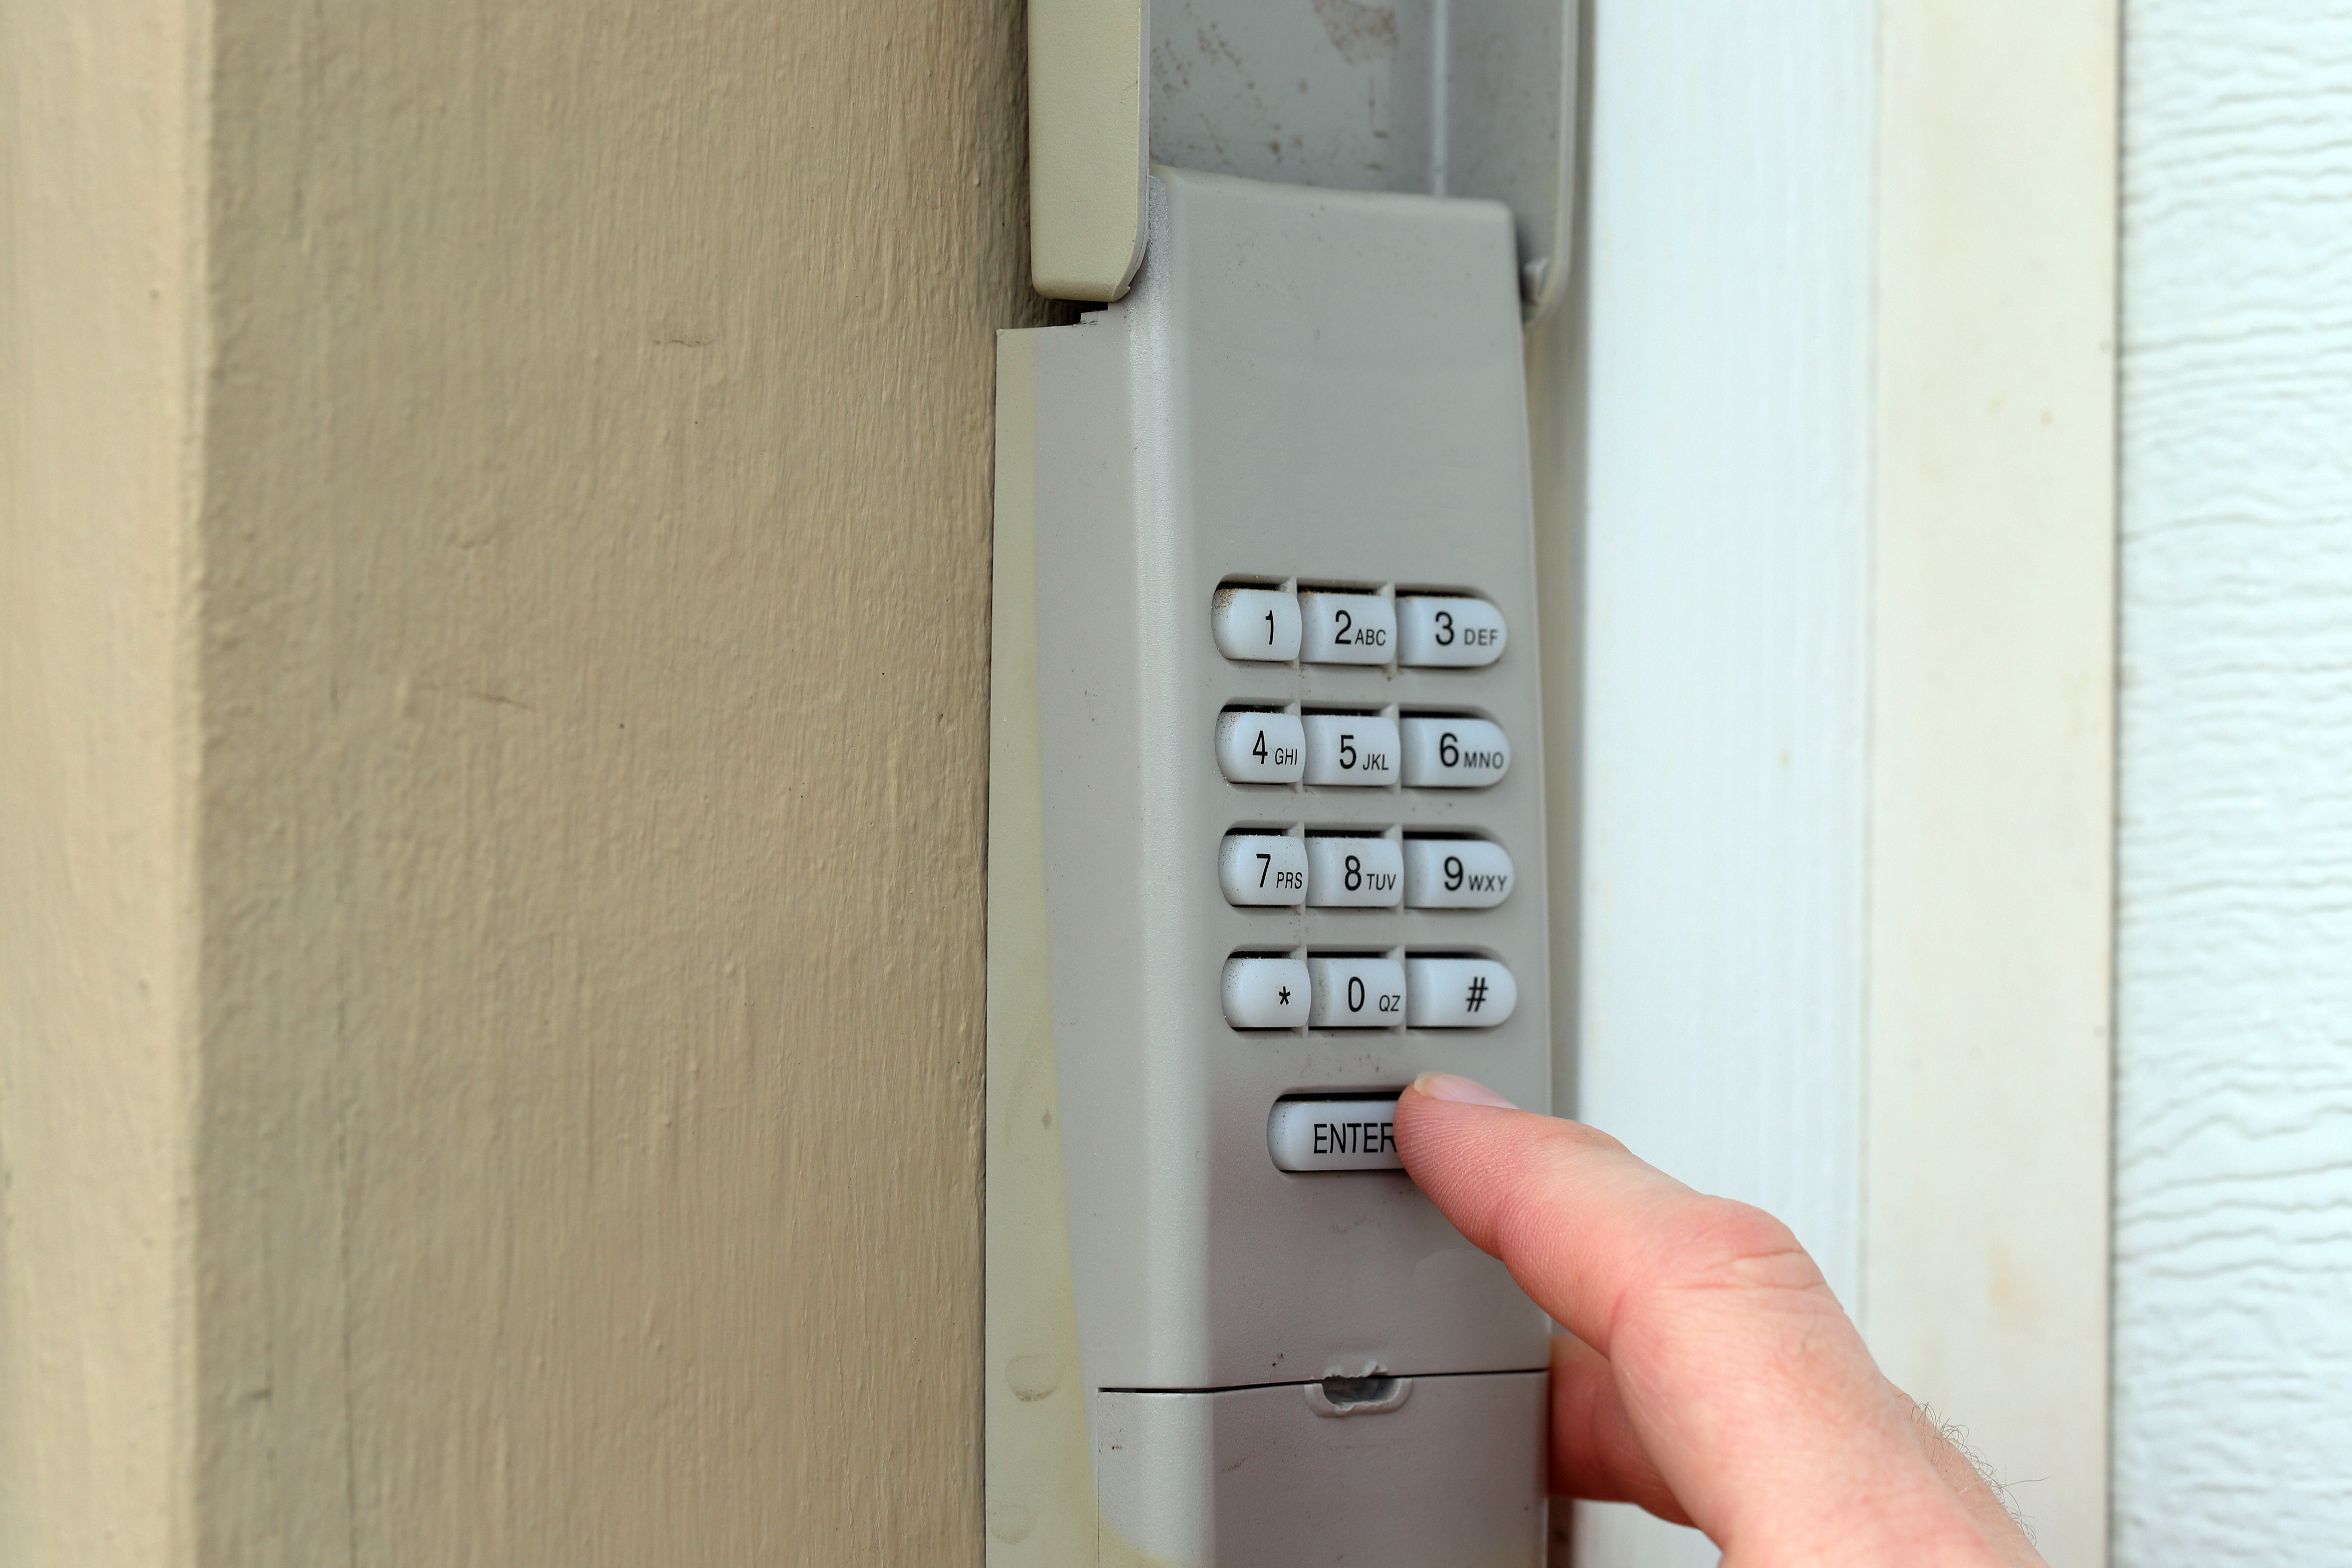
The next step is to press the learn button once more (but don’t hold it this time). You should see a small light next to the learn button light up. Depending on the model, the main lights may also light back up or blink. At this point, you can reprogram your keypad by entering your new code. You have roughly 30 seconds to do this, so make sure you have your new four-digit code picked out before you reach this step (and make sure you write it down or commit it to memory!)
Once you’ve typed your new code in, your garage door opener should, in some way, indicate that the code has been accepted. The lights may turn on, turn off, flicker several times, or blink once depending on the model
At this point, your new code is set! Of course you’ll want to test it out once or twice, just to be certain that everything is working as it should. If you run into any problems, or these general instructions don’t appear to mesh with your specific model, you’ll want to consult your user manual for more explicit direction. And if you don’t have a user manual, or you’re still experiencing issues indicative of a more serious garage door problem, give us a call and we’d be happy to offer our insight on the matter.
Related Posts